Beginner's Guide to Resin Art: Tips and Techniques
Beginner's Guide to Resin Art: Tips and Techniques
Resin art is one of the most fabulous, versatile mediums used these days, really catching on in DIY crafts and home décor. Its shiny, glass-like finish and encasement of objects make resin ideal for making jewelry, coasters, and abstract wall art. The entire process, if a person is a beginner, seems quite intimidating; however, it must not deter anyone because with suitable guidance and techniques, such a creative hobby can be undertaken comfortably. So, here's the beginner guide for those eager to get themselves started.
What is Resin Art?
It's actually resin art that uses liquid synthetic resin, which cures to form a hard, glossy material once it is mixed with a hardener. It can be tinted with colors, mixed with pigments, or used to encase items like shells, dried flowers, and glitter to create one-of-a-kind pieces.
Materials Needed
To start resin art, you will need the following basic materials:
Resin and Hardener: These are the two major elements you are going to mix to create the resin base.
Protective Gear: Resin tends to emit a kind of fumes and will also cause irritation on the skin; therefore, gloves, mask, and goggles are a must while working with resin.
Mixing Cups and Sticks: You are going to use these for measuring and stirring the resin.
Molds: The best kind of mold for making items like coasters and jewelries is the silicone molds.
Colorants: These comprise pigments, acrylic paints, and glitter, giving color and texture to your resin pieces.
A Heat Gun or Torch: Helps in getting rid of bubbles formed in your resin.
Tips for Beginners
Work in a Well-Ventilated Area: Resin does release noxious fumes, so it's always important to work in a space that has a lot of airflow.
Measure Accurately: The resin-to-hardener ratio is critical. Most resins require a 1:1 ratio but always refer to the manufacturer's instructions. Anything above wrong will result in improper curing.
Mix Slowly: Stir the resin and hardener slowly during the mixing process to not introduce bubbles into the mix. If you happen to get some bubbles into the mix, you can pop them with a heat gun or torch once you have poured the resin.
Start Small: For the most part, begin with something small such as jewelry, coasters, or trays. This will allow you to get used to mixing and curing without wasting too much material in the process.
Colors: Since working with resin is where a little goes a long way, make sure the more pigment you add, the darker it will be. Begin with just a little bit and go until you get the desired shade.
Be Patient with the Cure: The resin needs up to 72 hours to cure fully. Don't let tempt you to touch or move your project before you've waited for the curing process to be complete.
The Ability to Layer: You can even build layers on resin. This can be built in depth and complexity into a work of art. You can achieve layered effects by pouring resin, waiting for it to cure, then layering again with different colours or objects in the resin.
Techniques to Try
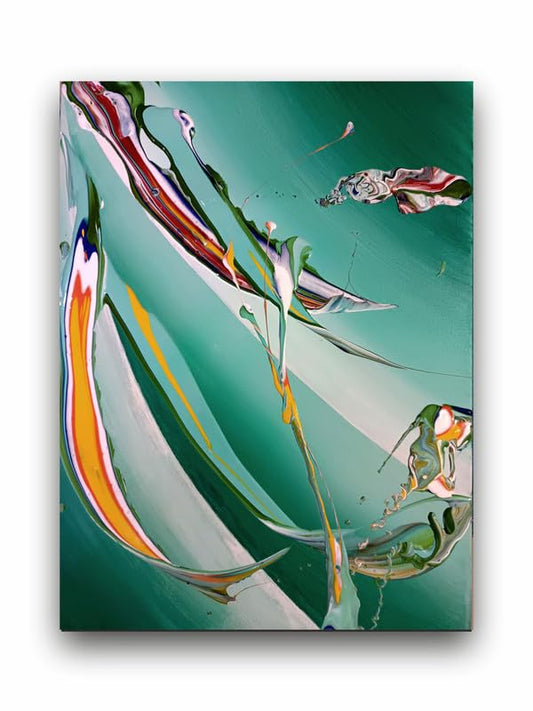
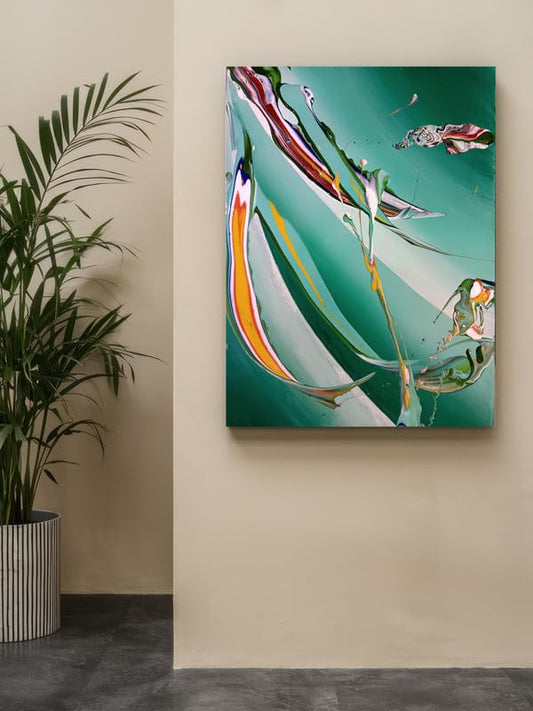
Dirty Pour: Mix different colors of resin in separate cups. Pour them into one container and let them flow into one another as they hit the surface. When you pour mixed resin on your surface, it will swirl and produce a unique patterning.
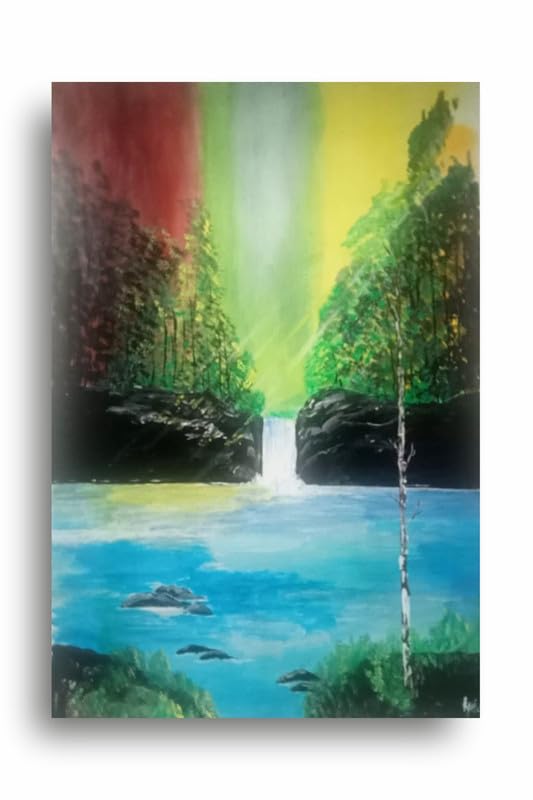
Embedding Objects: You can embed small objects like flowers, stones, or shells into the resin and create beautiful pieces that look suspended in glass.
Marbling: There are methods of marbling that combine various colored resins in swirling patterns. Manipulate colors on the surface with a stick or brush before resin sets.
Final Thoughts
Resin art is a craft really rewarding and versatile full of creativity. With small, simple projects and mastering the fundamentals of this art, beginners will be creating stunning resin pieces of their self-expression and artistic vision. Patience and practice will surely get you well on your way to beautiful resin art!
Beginner's Guide to Resin Art: Tips and Techniques