Drawing Landscapes: An Exercise in Perspective and Scale
Drawing Landscapes: An Exercise in Perspective and Scale
Drawing landscapes is one of the most rewarding artistic pursuits you can engage in, as it involves beautifully depicting the entirety of nature through your own techniques. However, creating realistic landscapes, as well as making them visually appealing, involves an understanding of two key concepts: perspective and scale. These elements give your drawings depth, proportion, and a sense of realism. Whether you are a beginner or mastering your skills, this guide would give you the dos and don'ts on how to bring perspective and scale into your landscape art.
Perspective
Perspective refers to the way of drawing three dimensions onto a two-dimensional surface so that it seems real. Applying landscape techniques essentially helps in the rendition of depth and distance, as if giving the viewer a view of real, three-dimensional space.
1. Horizon Line and Vanishing Points The horizon line is the line that corresponds to the viewer's eye level. That is where the sky intersects the ground in your drawing. It is an essential ingredient because it helps establish, in a manner of speaking, where objects are in relation to the viewer.
It is the points along which parallel lines seem to converge to the horizon line. For example, a road or row of trees will seem to get smaller and close together as it recedes toward the horizon, finally converging into one point. Drawing Landscapes: An Exercise in Perspective and Scale
2. Linear Perspective
Linear perspective is one technique to carry on the illusion of depth with the help of the size and placement of objects based on their distance from the viewer. All lines in one-point perspective draw to one single vanishing point. For more complex compositions they lead to two vanishing points. Scaling can be incorporated.
Scale: A description of the relative size of features in a landscape drawing. If scale is used rightly, it will give you a sense of proportion, indicating which features are near and which are farther away.
1. Foreground, Middleground, Background
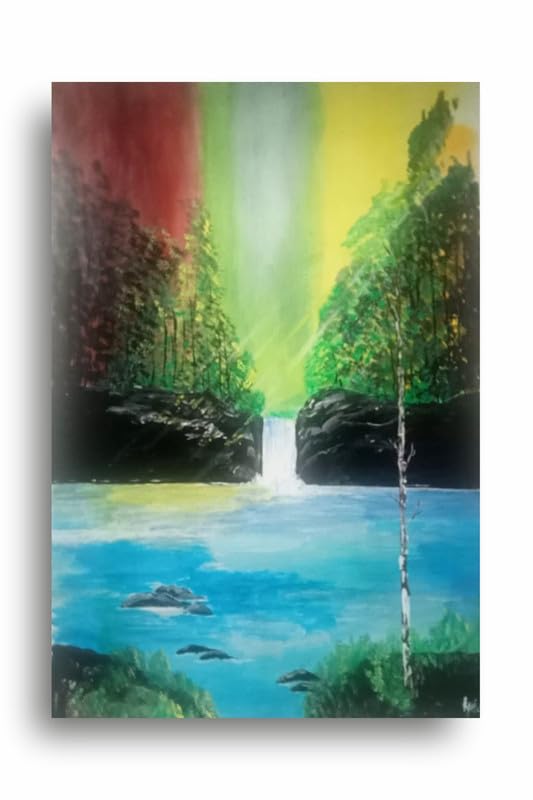
Divide the landscape into three separate areas : foreground, middleground and background. Your biggest, most detailed objects placed in the foreground since they are closest to your audience. Middleground consists of the medium-sized objects placed far away, and in the background, these comprise small and least detailed objects furthest from the viewer.
2. Overlapping Objects
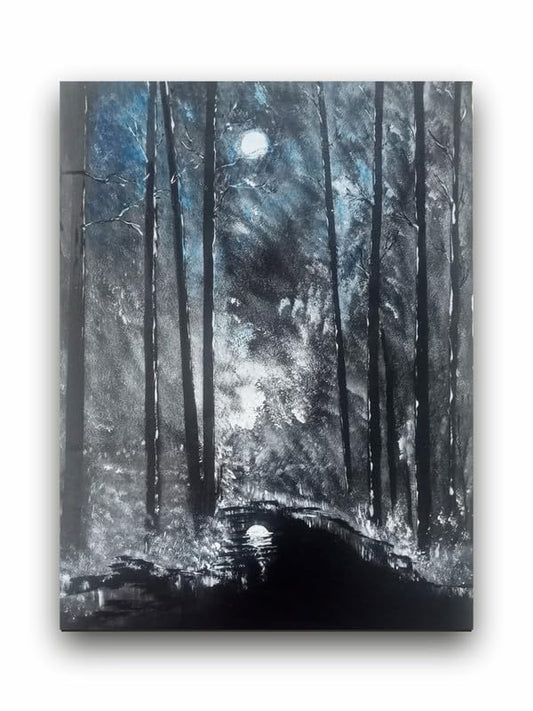
Overlapping objects creates another way to create scale. Where one object only partially covers another, this tells you the covered object is behind in space. Such a simple technique helps to bring depth and spacing between disparate parts of your landscape.
Drawing Landscapes with Perspective and Scale
Start with a rough sketch: Lightly sketch in the horizon line, the vanishing points, and most of the main features of the landscape. This is your guide, from which you will work out the detail.
Use Reference Images: It will help you to have a clear view of nature and how perspective and scale work in a real scenario.
Practice drawing simple shapes: When it comes to more complex landscapes, but first get used to drawing basic shapes like boxes or roads using perspective. This way you will be comfortable with vanishing points as well as scale.
Relative sizes: Observe relative sizes of objects, and they should proportionately shrink as they go into the background.
Conclusion
Mastering perspective and scale is very fundamental in depicting realistic dynamic landscape drawings. This can be made possible by learning when to apply vanishing points, the horizon line, and relative sizing on a piece of flat paper. Soon, your landscape drawings will depict a beautiful depth of nature.

