How to Create Mandalas Using Acrylic Pouring Technique
How to Create Mandalas Using Acrylic Pouring Technique
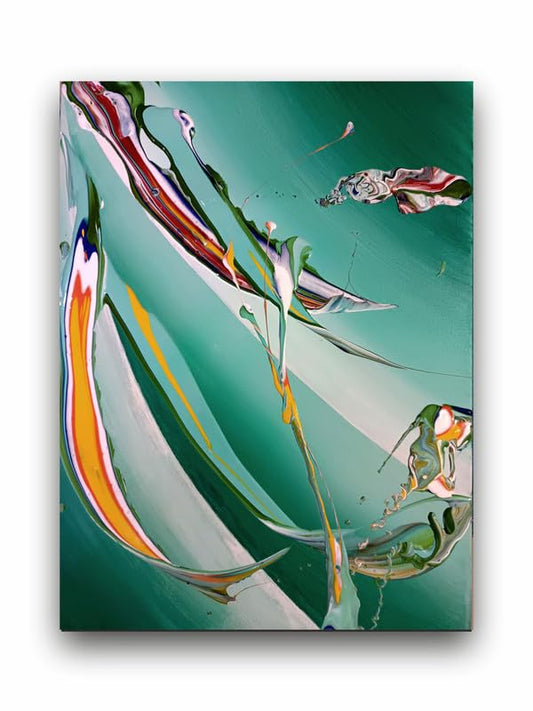
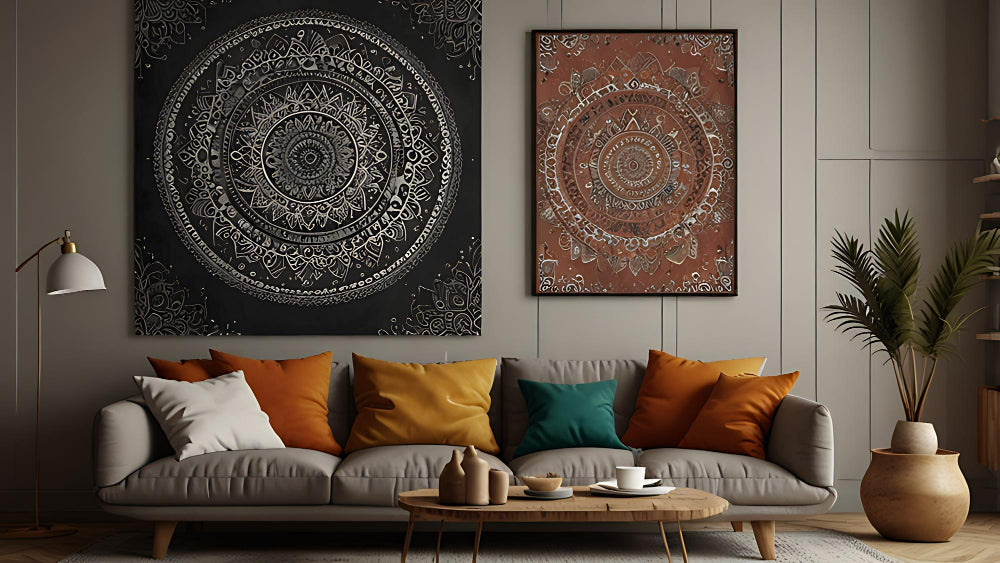
Mandala art created using acrylic pouring techniques is a beautiful synthesis of two fascinating forms of artistic expression into one outstanding outcome. Known by intricate symmetrical patterns that signify wholeness or balance, mandalas are a form of art that is truly awe-inspiring. Conversely, acrylic pouring is a fluid art technique that tends to produce unpredictable yet captivating designs. These two will produce a great combination of controlled geometry and organic flow. Here is a step-by-step guide for acrylic pouring mandala art.
Materials Required
Acrylic paint in any color
Pouring medium to thin your acrylic paints
Canvas or wooden panel
Paint mixing cups
Wooden sticks or palette knives for stirring
Spinning tool (optional)
A fine-tip paintbrush or acrylic pens for details
A compass or template for sketching your mandala outline
Drop cloths, gloves and apron for protection of workspace and yourself
Step-by-Step Procedure
1. Prepare Your Paint.
First comes the acrylic pour by mixing your paint with a pouring medium. This medium thins the paint, which it then pours smoothly onto the surface. Use different mixing cups for each color. Add about two parts pouring medium to one part paint. Mix thoroughly so that there are no lumps or bubbles left in the paint.
2. Choose a Pouring Technique
There are different acrylic pouring techniques. The "dirty pour" or "flip cup" technique is not bad for mandala art because it produces dynamic patterns that can act as a background for your artwork. You may also try puddle pour, where paint colors with different depths are poured on each other in layers with beautiful effects best suited to circle creations.
3. Base Layer Creation
Once your paint is well mixed, pour some onto your painting surface. You can let the paint spread by tilting your canvas or by spinning a spinning tool that can help you achieve an even, radial pattern. Let the natural flow of the paint create an abstract base for your mandala. Let this layer dry fully before you try anything else.
4. Delineate Your Mandala
Once the acrylic pour has dried you can draw your mandala onto the canvas using a compass or stencil. This design can be as simple or complicated as you want it to be. You will really be able to use a compass if drawing concentric circles for guidance in your symmetry of mandalas.
5. Drawing Details of Mandalas
Use acrylic pens or a fine-tip paint brush to start sketching patterns on your mandala. The fluid patterns from the pour will provide interesting contrast to the shapes in your mandalas, being as precise and symmetrical as they are. Highlight specific areas of your intricate pieces with metallic paint or contrasting colors.
6. The Finishing Touch
Once you have completed your mandala, you could varnish or apply a resin to lock your paint onto your artwork. That will, of course, bring the depth out in the colors and give the finishing professional touch to your piece.
7. Tips for Success
Try Color Experimentation: The beauty of acrylic pouring is in the unpredictability of blending colours. Pick colors that you think will complement your mandala art, but also trust the paint to be alive with its color experiment.
Layering: Try layering the mandala design. Pour several times to build depth within the layers. You know that contrast is what makes it more complex and interesting for the artwork.
Symmetry Practice: Mandala art is all about balance. Even though the acrylic pour has a randomizing factor, practice precision with your mandala design to give it harmonious balance.
Conclusion
It is a visualization that combines the abstract flow of acrylic pouring with the structured beauty of mandala art, creating something magical to behold. No matter if you have years of experience or are just starting out, you will lose yourself in your creative vision as you work through free expression and careful planning. Give it a try; then watch your mandala come alive in color, fluidity, and balance!
How to Create Mandalas Using Acrylic Pouring Technique