How to Draw Water: Reflections and Ripples
How to Draw Water: Reflections and Ripples
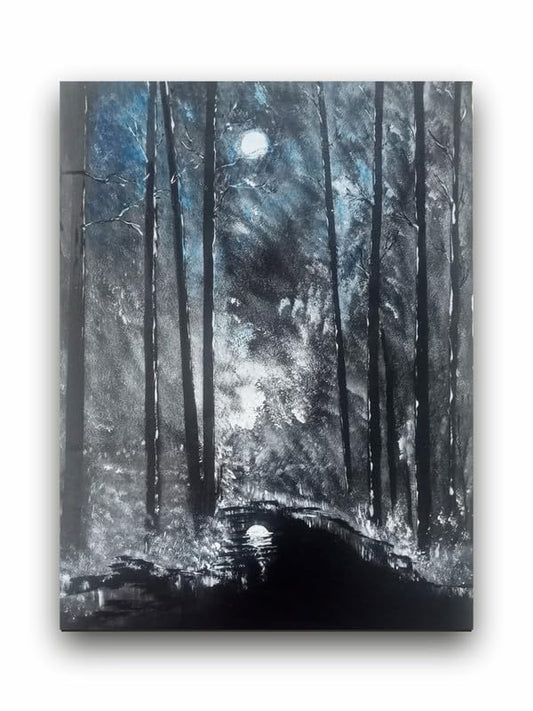
For artists, drawing water can be the most frustrating yet rewarding challenge. Be it a still lake, rushing river, or gently moving ocean waves, what is unique about the qualities of water means it's important to catch. Here's how you can draw water, especially reflections and ripples, to make it more real.
Nature of Water
Water is without doubt a principal element in drawing the landscape as well as cityscapes. Though not the easiest element to work with, its unique reflective properties and soft and flowing textures distinguish this element from others.
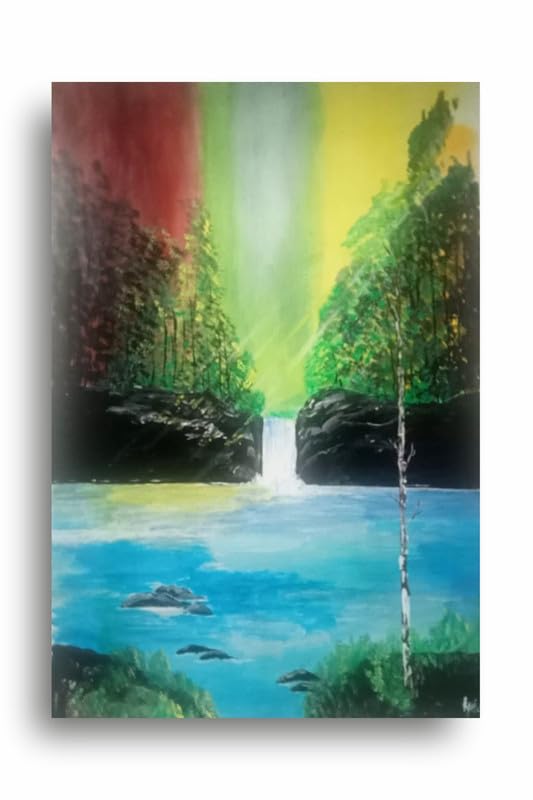
Observe how water works. Because it is both reflective and transparent, what you are seeing is what lies under its surface while, at the same time, getting a mirror image of its environment. The color of water can change very much in the course of a day, depending on the weather and other environmental conditions. Good notations on all these considerations need to be taken when you're about to draw.
Tools Collection
In order to draw water efficiently, collect the right tools first. You would need : Pencils: Graphite pencils in H, B, 2B to offer a range of drawing effects and renderings. Eraser: A kneaded eraser is excellent for lifting highlights.
Paper: Good quality, smooth paper for fine details.
Blending tools: Tortillons or blending stumps to smooth your lines and blend the transition areas. Drawing the basic outline Begin by lightly drawing the general shape of the body of water. If you are adding ripples, focus on the undulation lines that radiate out from a source of disturbance. Use loose curves to represent the fluid motion of water with your pencil or pen.
Drawing Reflections
When you've completed your outline, you can now add some reflections. Try animating the environment of your water by including images of trees, buildings, or even the sky for that matter. Draw the ones which tend to be leaning as reflections in water rarely appear perfect. Lighter stroke representations should be used when indicating more distant reflections while darker and stronger lines are used for closer ones. This will give texture and depth to your artwork.
If you think of colour for the water, it adds a great depth, because you blend in between soft shadings. You would add blues and greens together, but also a hint of warm colors. This way, your water would gain strength in realism.
Making the Ripples
Now, focus on ripples. Use short curved lines to draw ripples emanating from a place where the water is displaced, for example, by a stone thrown into the water. Vary the length of and spacing between your lines to illustrate different wave patterns, with the concept that ripples dissipate in strength and spread out increasingly as they move farther from the point of disturbance.
Final Detailing
Use the white part of your eraser to give light on the water, creating some highlights. The contrast between light and dark areas will now give your drawing final touches. Colored pencils, with their deepening layers, are a great media in this regard. Even watercolors can do the trick.
Conclusion
Drawing water with its reflections and ripples takes time and close attention. Learn its principles of behavior and then practice the appropriate techniques to create something simply breathtakingly involving the dynamic element you have chosen. Get your materials ready, observe the world around you, and let your creativity be the driving force!
How to Draw Water: Reflections and Ripples