How to Make Stunning Resin Artwork for Your Home
How to Make Stunning Resin Artwork for Your Home
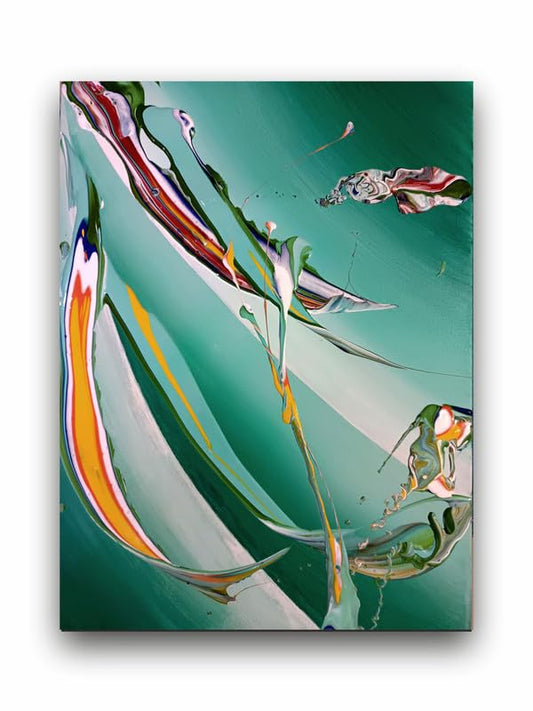
Resin artwork is a quite popular art due to its unique, glossy finish and absolute freedom in creating endless varieties. You can create resin artwork at home - an exciting way to personalise the space, be it a master artist or just entering the world of art. In this step-by-step guide, you'll learn how to create impressive resin art pieces that'll decorate your home.
1. Gather Your Materials
You will require a small set of materials to get started. Epoxy Resin and Hardener: It has to be a two-part resin. Coloured Pigments or Inks Mixing Cups and Stir Sticks Rubber Gloves, Mask and Apron: While working with the resin, they can poison you if you inhale or directly touch your skin. A Flat, Level Work Area with a Drop Cloth Heat Gun or Blowtorch. Silicone molds or canvases for pouring your resin.
2. Prepare Your Workspace
Resin art can be a real mess, so cover your workspace and wear protective gear. Since resin also emits harmful fumes, ensure you work in an area with good ventilation.
3. Mix the Resin
Mix the epoxy resin according to the manufacturers' instructions on the package using the hardener. The mix ratio varies between brands; mostly the mix is 1:1, but it can vary. Mix slowly to minimize air bubbles in the mixture. Upon mixing, you can work with it for about 30-45 minutes when it will begin to set.
4. Add Pigments
Now things get fun-colouring! Mix all sorts of pigments, inks, or even glitters into your resin for depth and richness. You can also layer colours within your resin mix for that marbled or abstract look. Play, experiment, and come up with what you want.
5. Pour the Resin
Pour the resin cautiously onto your chosen surface. It could be on a canvas, a wooden panel, or a silicone mold. Using a spatula or stick helps you spread it out well in the said surface. And if you do have more than one color, pour them in different sections or mix them up to create some cool designs.
6. Blow Out Air Bubbles
The resin poured might have little air bubbles. Get rid of those by dusting very lightly over the surface with a heat gun or blowtorch. Don't burn and warp the resin.
7. Let it cure
The resin usually takes 24-48 hours to fully cure. Make sure that your artwork is in a dust-free environment, so no particles get stuck inside the resin. In case you would like to avoid dust from sticking to your piece, cover it with a protective lid or box while it cures.
8. Finishing Touches
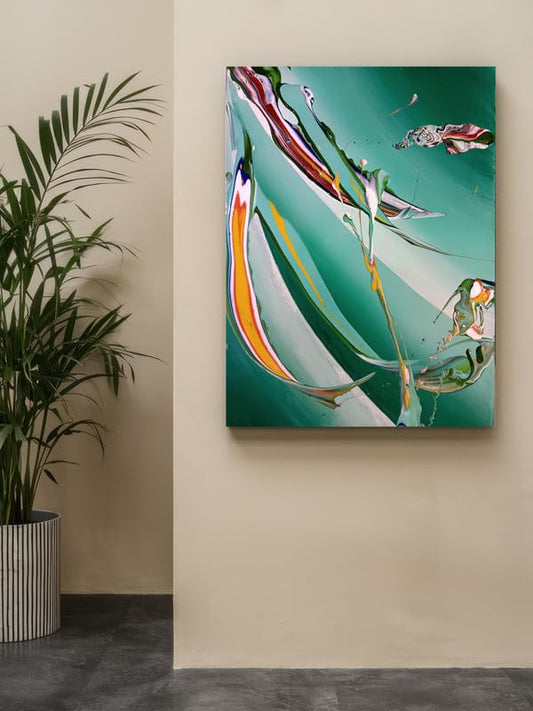
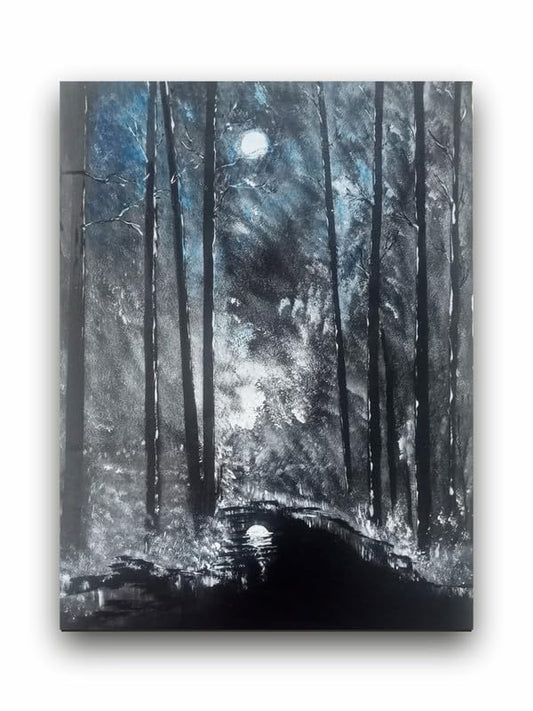
One is to add other finishing touches once the resin is fully cured, such as edge-trimming or glossy topcoat application for that extra glitter. For mold workers, when the resin sets, it must be carefully removed from the mold. Now that you have completed your resin artwork, it can be set in your home. It can be placed on the wall as a great centerpiece or as a decoration item at the center of a coffee table or shelf. Its glossy appearance and three-dimensional effect are really sure to evoke an excellent modern artistic feel in any space .
Conclusion
Creating resin art is exciting and fulfilling. At the right time, with the right materials, and with a little patience, you could be creating unique pieces reflecting your individuality, either with bold colors or delicate detail. Whether it is to add a pop of color or even to add detail, resin art really transforms a home into a personal gallery in your very own living space.
How to Make Stunning Resin Artwork for Your Home