How to Mix Colors in Resin Art for Beautiful Visual Effects
How to Mix Colors in Resin Art for Beautiful Visual Effects
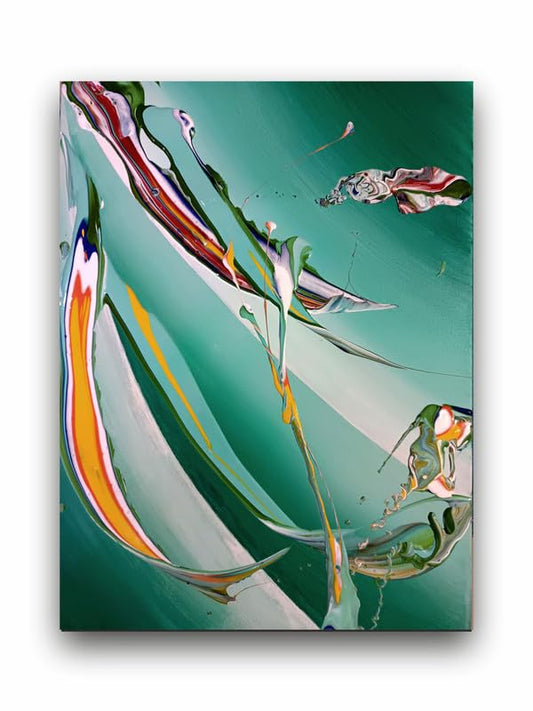
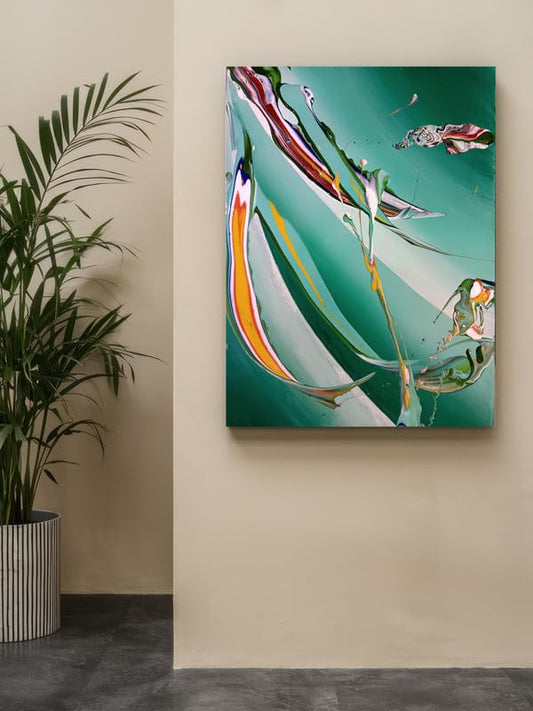
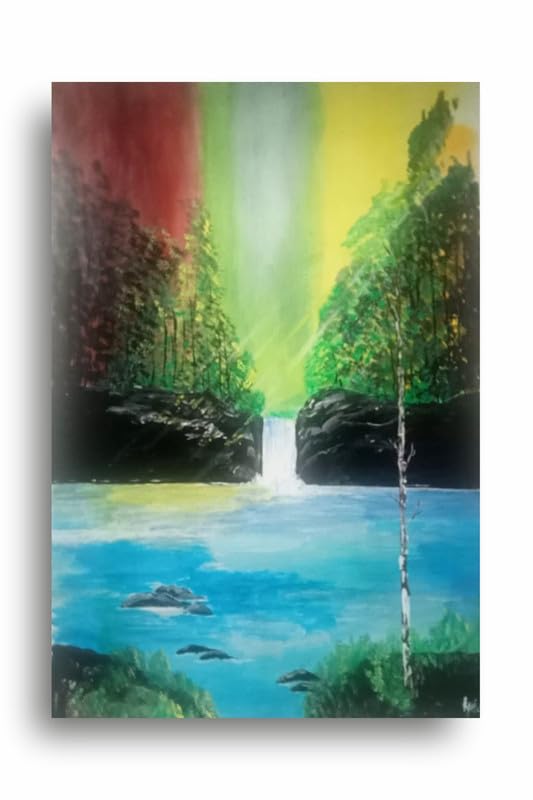
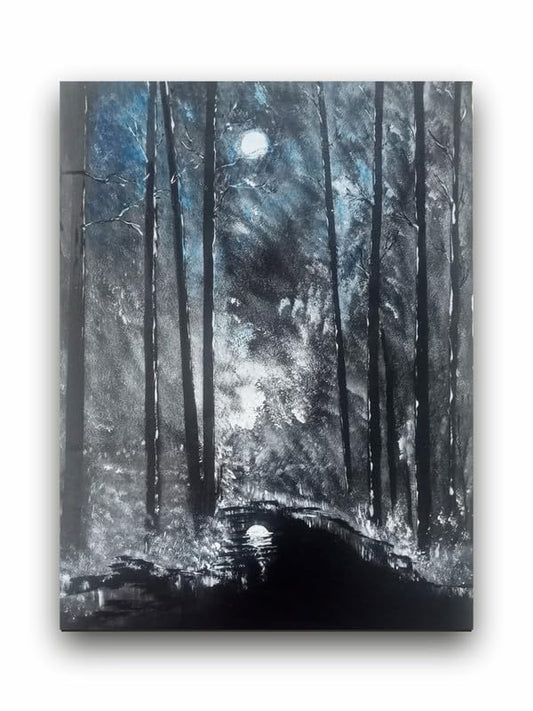
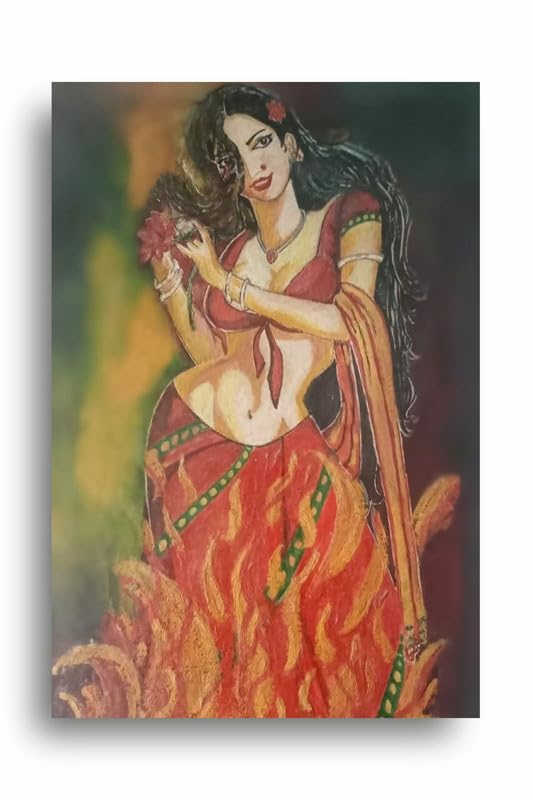
Today, resin art has become more popular because of its attractiveness and amazing effects. The thing about resin is that not only will it have a glossy finish, but you could also mix in different colors to produce great visuals. So if you are looking forward to improving the appearance of your resin art along with outstanding beautiful color arrangements, here are some tips on how to get the colors right.
1. Right Colors Selection
Start with colors that will complement each other. A good resource for this is a color wheel; adjacent colors on a color wheel are called analogous colors, those that create harmony, and complementary colors, those which are color opposites on the wheel, strikingly contrasting.
2. Knowing the types of resin
Before you start mixing colors, you should know the various types of resins. Of all the resin types, epoxy resin is probably the most commonly used in artworks because it is clear and more resistant to scratches. Polyester resin, on the other hand, may be cheaper but tends to yellowish, so do not use this for bright color combinations. You should choose the right type of resin according to your concept.
3. Mixing Color Pigments
Color pigments are coming in liquid form, powder form, and paste form. They all have some unique properties. Liquid pigments are excellent for transparency and mixes; powdered pigments for opacity can be used. Try your concentration to get the desired color. While you color your resin, use a small amount of pigments and then try to increase on slight scale until you get the color you needed.
4. Layering Colors
Layering is a good way to mix colors in resin art. Pour a base color, then allow this to partially cure before you add a second color. This gives a good depth and can create beautiful gradients. You can achieve swirls or cells by blowing the resin through a straw or with a torch between layers.
5. Experimenting with Techniques
Resin art can employ all sorts of techniques, such as pouring, swirling, and spreading. Tint colors directly into your pouring cup or on your surface using a spatula or palette knife. Try lots of different effects. Colors poured from different heights can deeply influence the mixing and weird patterns they will produce.
6. Effects
Metals and sparkles, even textures, can be incorporated into resin art. Such add-ons may facilitate color mixing and add a flashy element. An example of such an add-on is gold or silver flake that offers luxurious feel and matches well with bright colors.
7. Curing and Finishing Touches
Once you have poured your mixed colors in, let it cure according to the instructions from the manufacturer. After curing is complete, you may apply a clear layer of resin to topcoat to add more shine and protection. That will just add further depth to your colors while giving a visually appealing finish.
Conclusion
Mixing colors in resin art is at once science and art. Knowing what technique to apply together with a little experimenting will produce breathtaking pieces sure to seize the eye. So go ahead, sit back, and enjoy each piece of artwork—because every one will surely be a reflection of your artistic journey! Whether you are an experienced resin artist or just a beginner, these will surely unlock full potential of color in your artwork.
How to Mix Colors in Resin Art for Beautiful Visual Effects