How to Use Erasers as a Drawing Tool: Subtractive Drawing Techniques
Featured collection
-
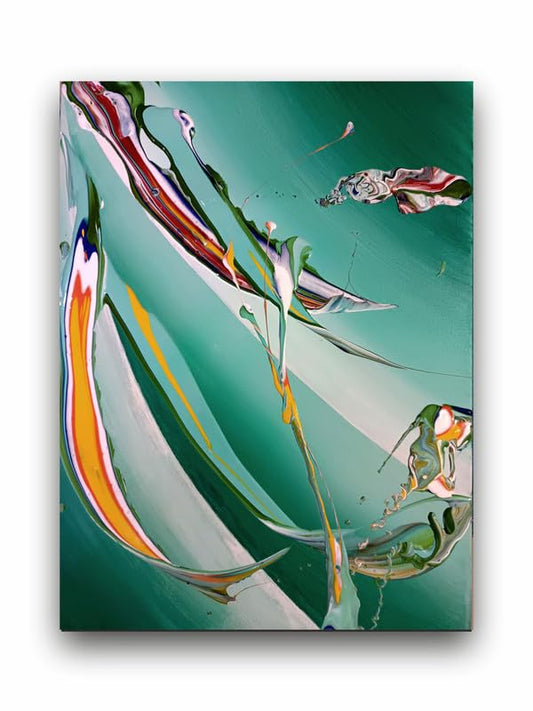
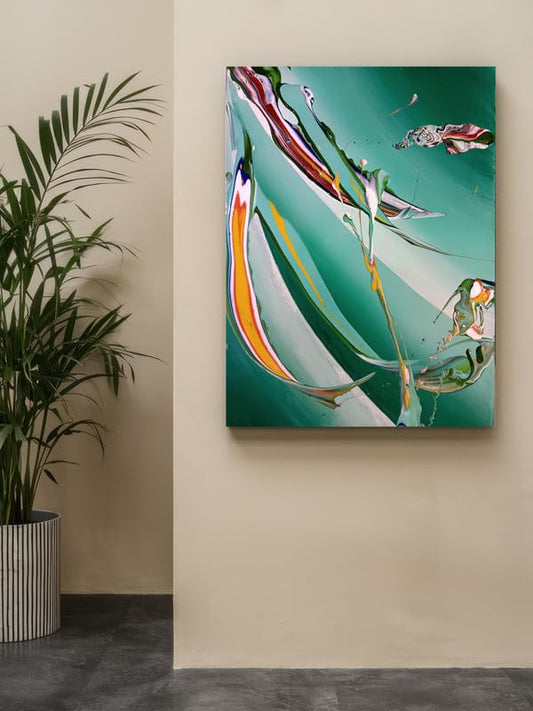
Art to Doors | Marine| Artist Vinod Kumar| Rectangle | Art Prints | Home Decor | Wall Art | Gift Items | Canvas Frame
Regular price Rs. 849.00Regular priceRs. 1,999.00Sale price Rs. 849.00Sale -
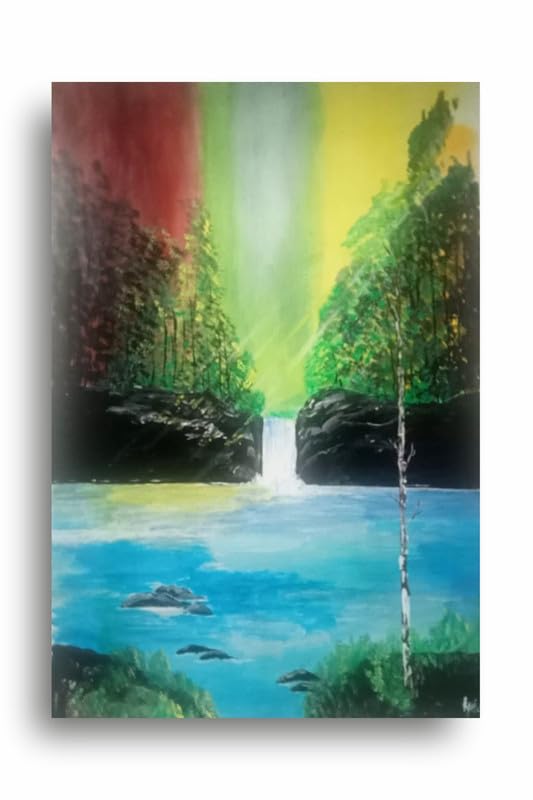
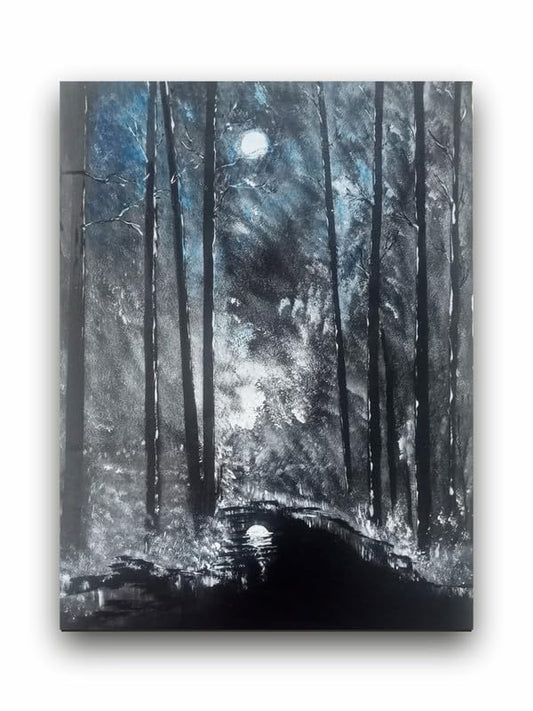
Art to Doors | Scenery | Artist Ravindran Krishnan | Rectangle | Art Prints | Home Decor | Wall Art | Gift Items | Canvas Frame
Regular price Rs. 849.00Regular price -
Art to Doors | Nature | Artist Ravindran Krishnan | Rectangle | Art Prints | Home Decor | Wall Art | Gift Items | Canvas Frame
Regular price Rs. 849.00Regular price -
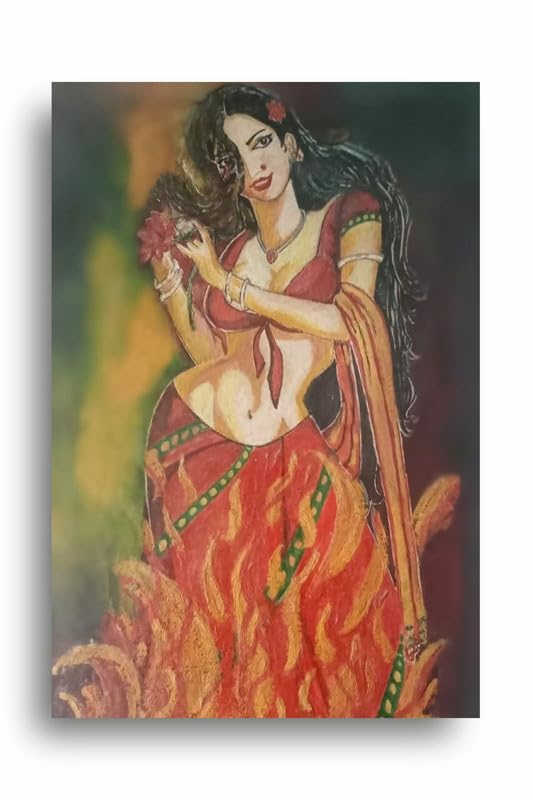
Art to Doors | Fire Beauty | Artist Ravindran Krishnan| Rectangle | Art Prints | Home Decor | Wall Art | Gift Items | Canvas Frame
Regular price Rs. 849.00Regular price