Layering art : how to achieve depth in resin art on canvas.
Layering art : how to achieve depth in resin art on canvas.
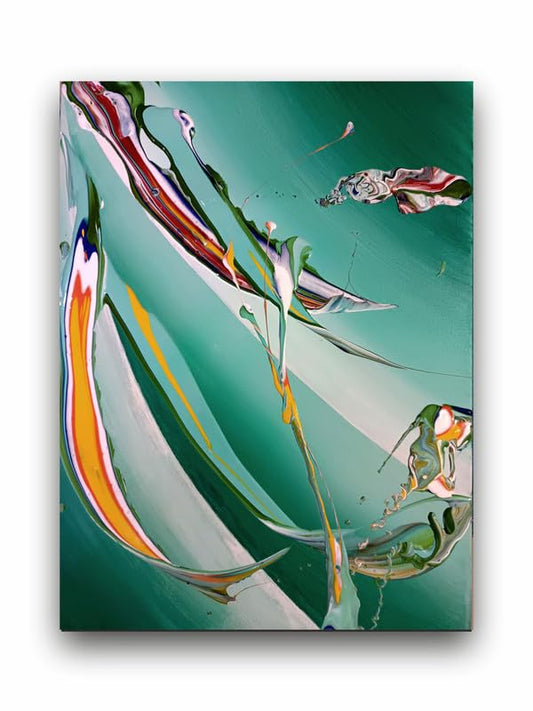
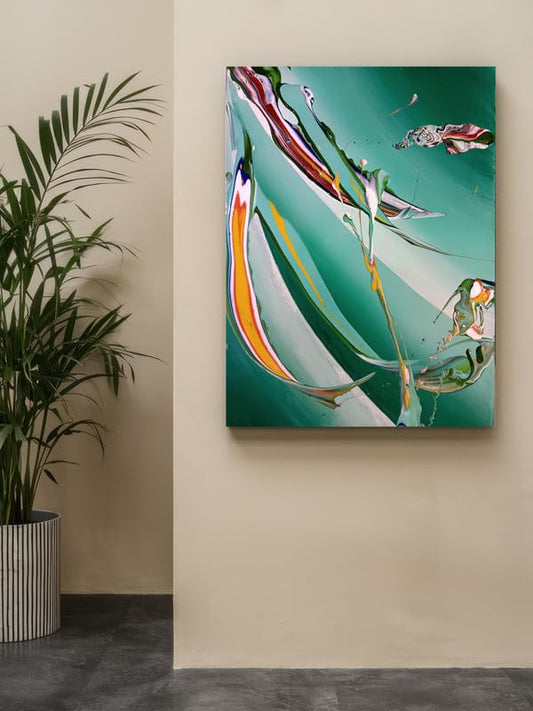
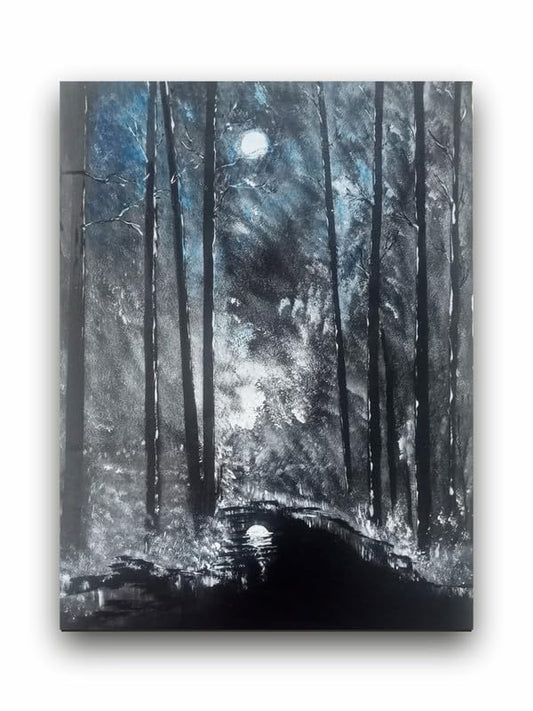
Resin art is one of the many art forms that have had an impressive popularity over the past few years. It captures the eye and imagination through rich colors, glossy finishing, and its flexibility for creative expression. One of the most exciting techniques in creating resin art involves layering. Layering adds depth, dimension, and complexity to the final piece. Mastering the art of layering in resin can take a simple work of art to something outstanding and multi-faceted. Here is how you can create depth within your resin on canvas art.
1. Resin Basics . Before you start laying down layers, you should know about the nature of the resin. Epoxy actually consists of two parts: resin and hardener. Once mixed together, a chemical process starts, which eventually dries out and hardens it. Timing is the key to a successful layering: there is sufficient time to let a layer dry before putting the next one in position.
2. Choose your Project and Base Layer
For a robust foundation for the resin, pick a relatively thick and solid canvas. That way, you can be sure that it will not warp or buckle under the weight of the resin. Thicker canvases or even wood panels generally work better than thinner ones, as this will prevent warping. Begin with a base layer of resin in a single color or a simple design. This layer will be the one that underlies the rest of your artwork, and will, basically, set the tone for all the subsequent layers.
3. Adding Color and Texture
Once the base layer has cured, it's time to add color and texture. There are countless ways to do this using acrylic paint, ink, or even pigments mixed into the resin. Use spatulas, brushes, or your hands to manipulate the resin. Try some pouring techniques: dirty pour, swipe, or ring pour for some interesting patterns that add visual interest.
4 Layering Techniques for Depth
Layering Techniques:Transparent Layers: Utilize some of the layers with clear or translucent resins. That is, some resins do not obscure as much of the colors and designs beneath so that these still come out, which gives a depth to your artwork.
Incorporating Objects: Let three-dimensional elements remain in the layers-bangles, dried flowers, glitter, etc. These objects can create shadows and dimension adding the overall depth in the artwork. Colour Gradation: Gradually shift colour through the layers of your design. Start deep blues at the base layers, then progressively lighten to the top layers. This gradient effect really adds a dynamic feel to your artwork.
5. Curing and Finishing Touches
Allow each layer to cure completely before you add the next. The curing times will differ depending on what type of resin you are using so you are better studying the instructions from the manufacturer. Once your last layer is dry do not forget that you can add a glossy top coat to really give your work that polish. It's not just about how deep it looks though, as the gloss will protect your artwork from damage also.
6. Conclusion
Layering with resin on canvas is an interesting process which will allow you to achieve really cool results. Start experimenting with the colors, textures, and techniques, and these pieces will invite the viewer to explore your work for the depths. Be creative on the journey, don't be afraid of mistakes-each layer adds to the story behind your artwork. You master the art of layering, and your resin artwork turns into an art piece that captures and inspires with time. Happy pouring!
Layering art : how to achieve depth in resin art on canvas.